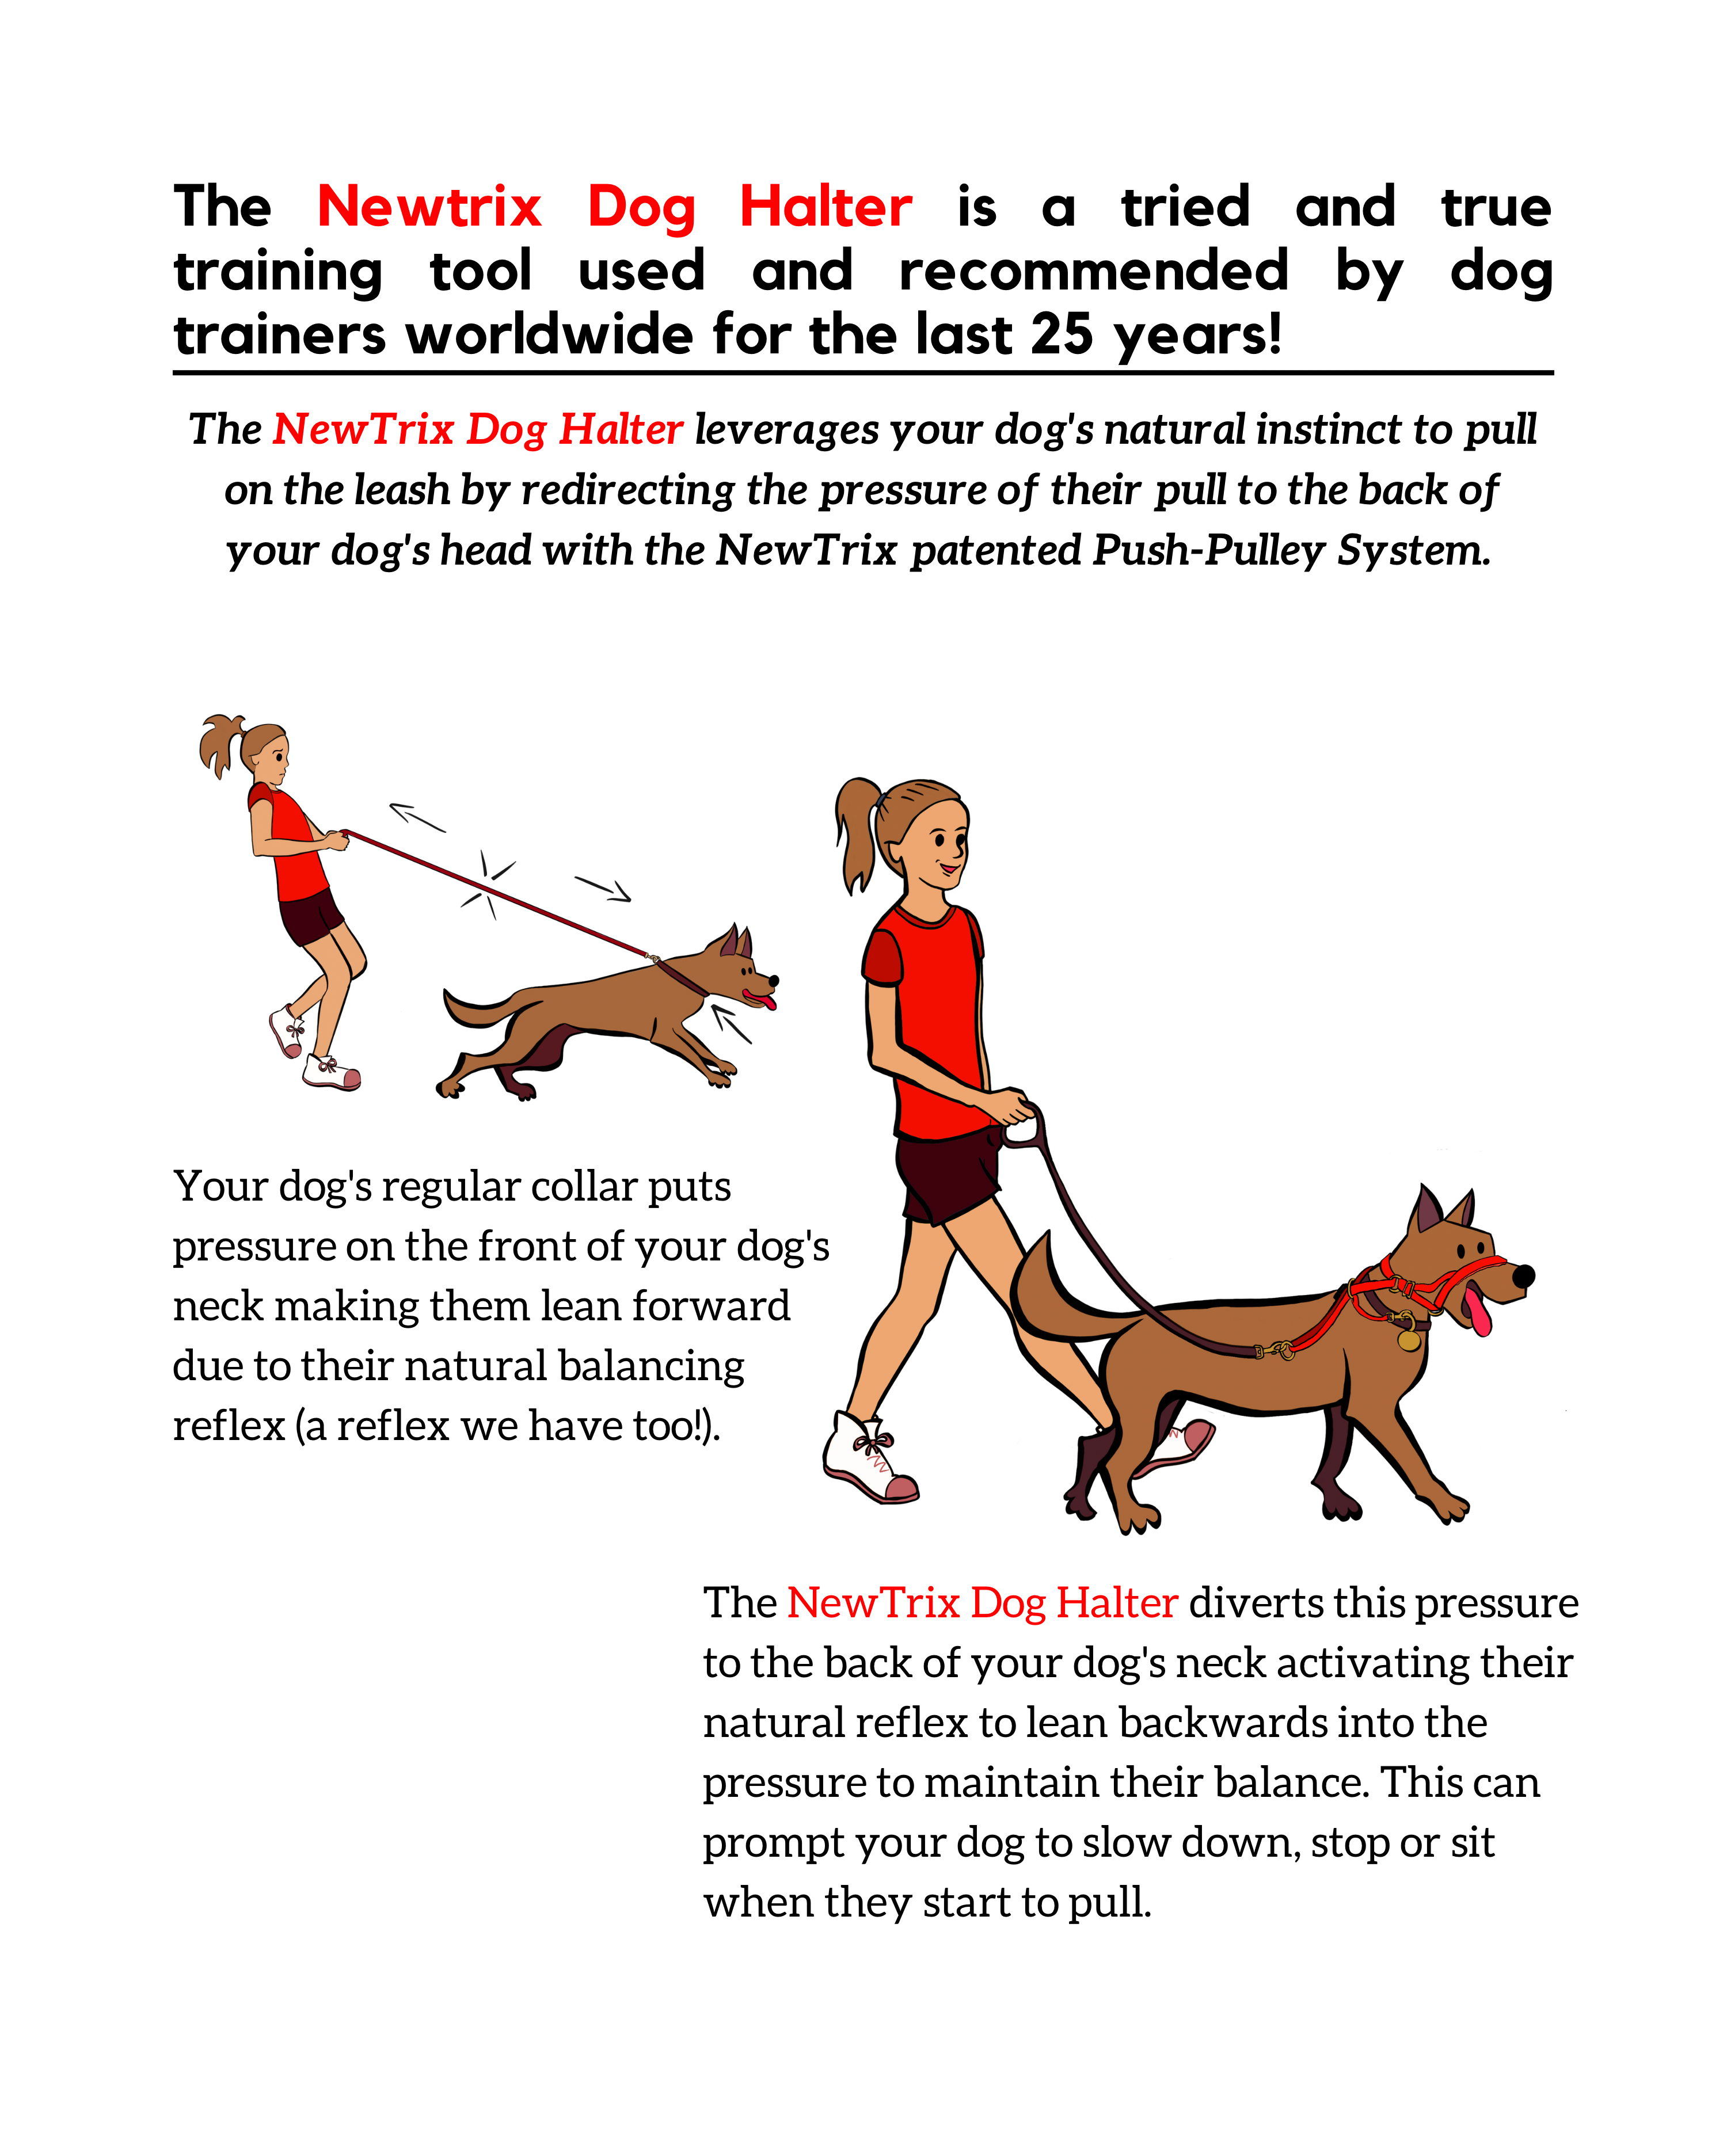
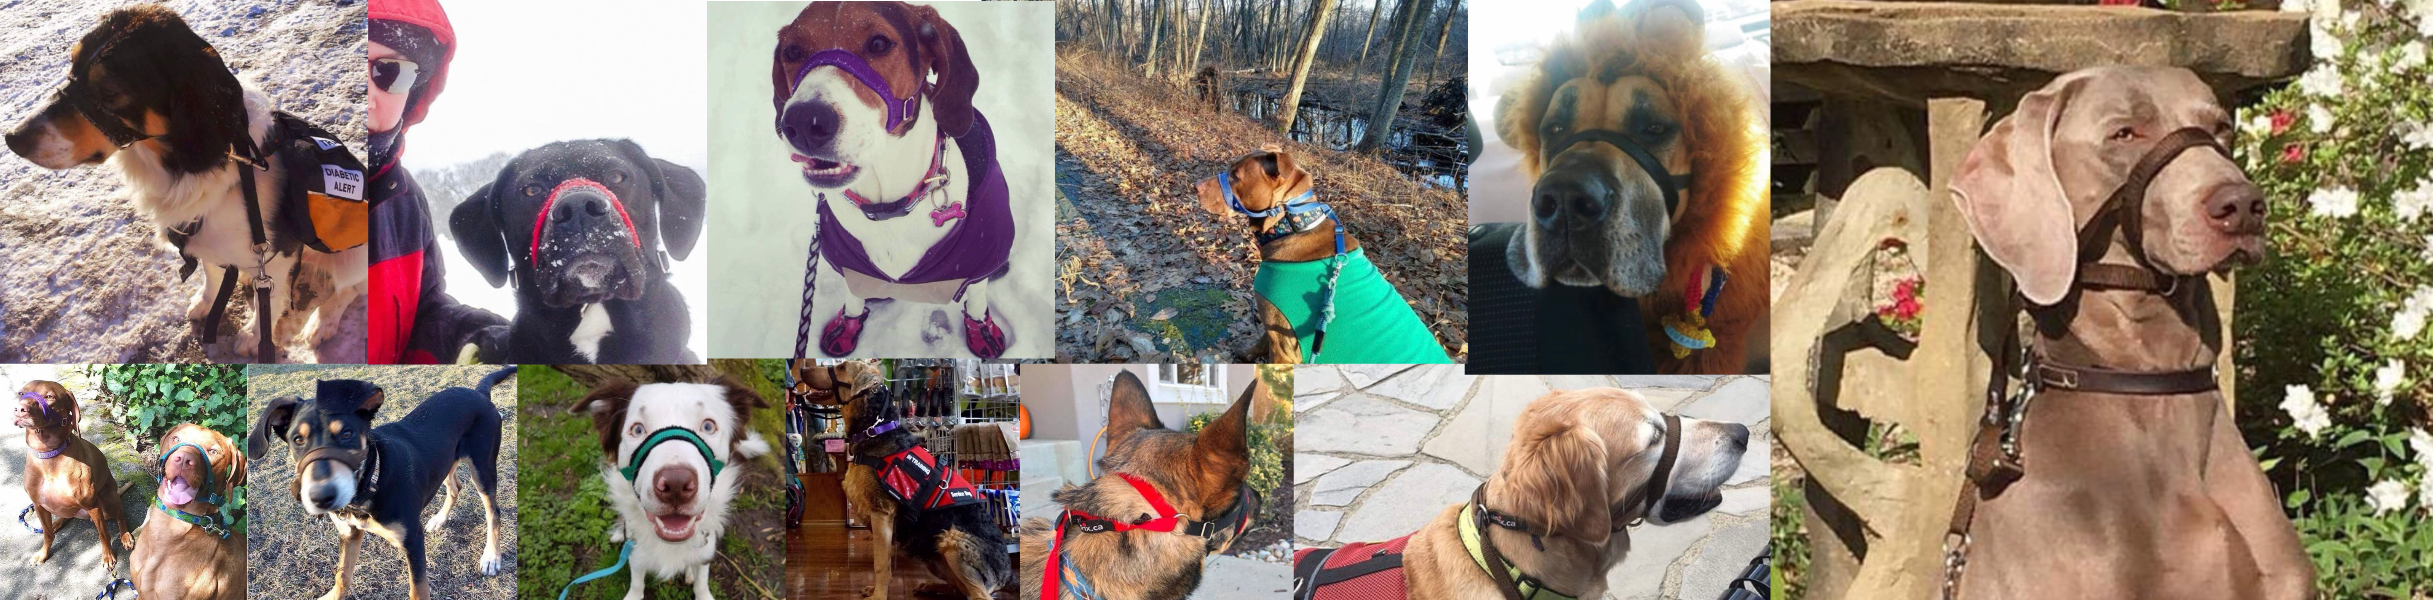
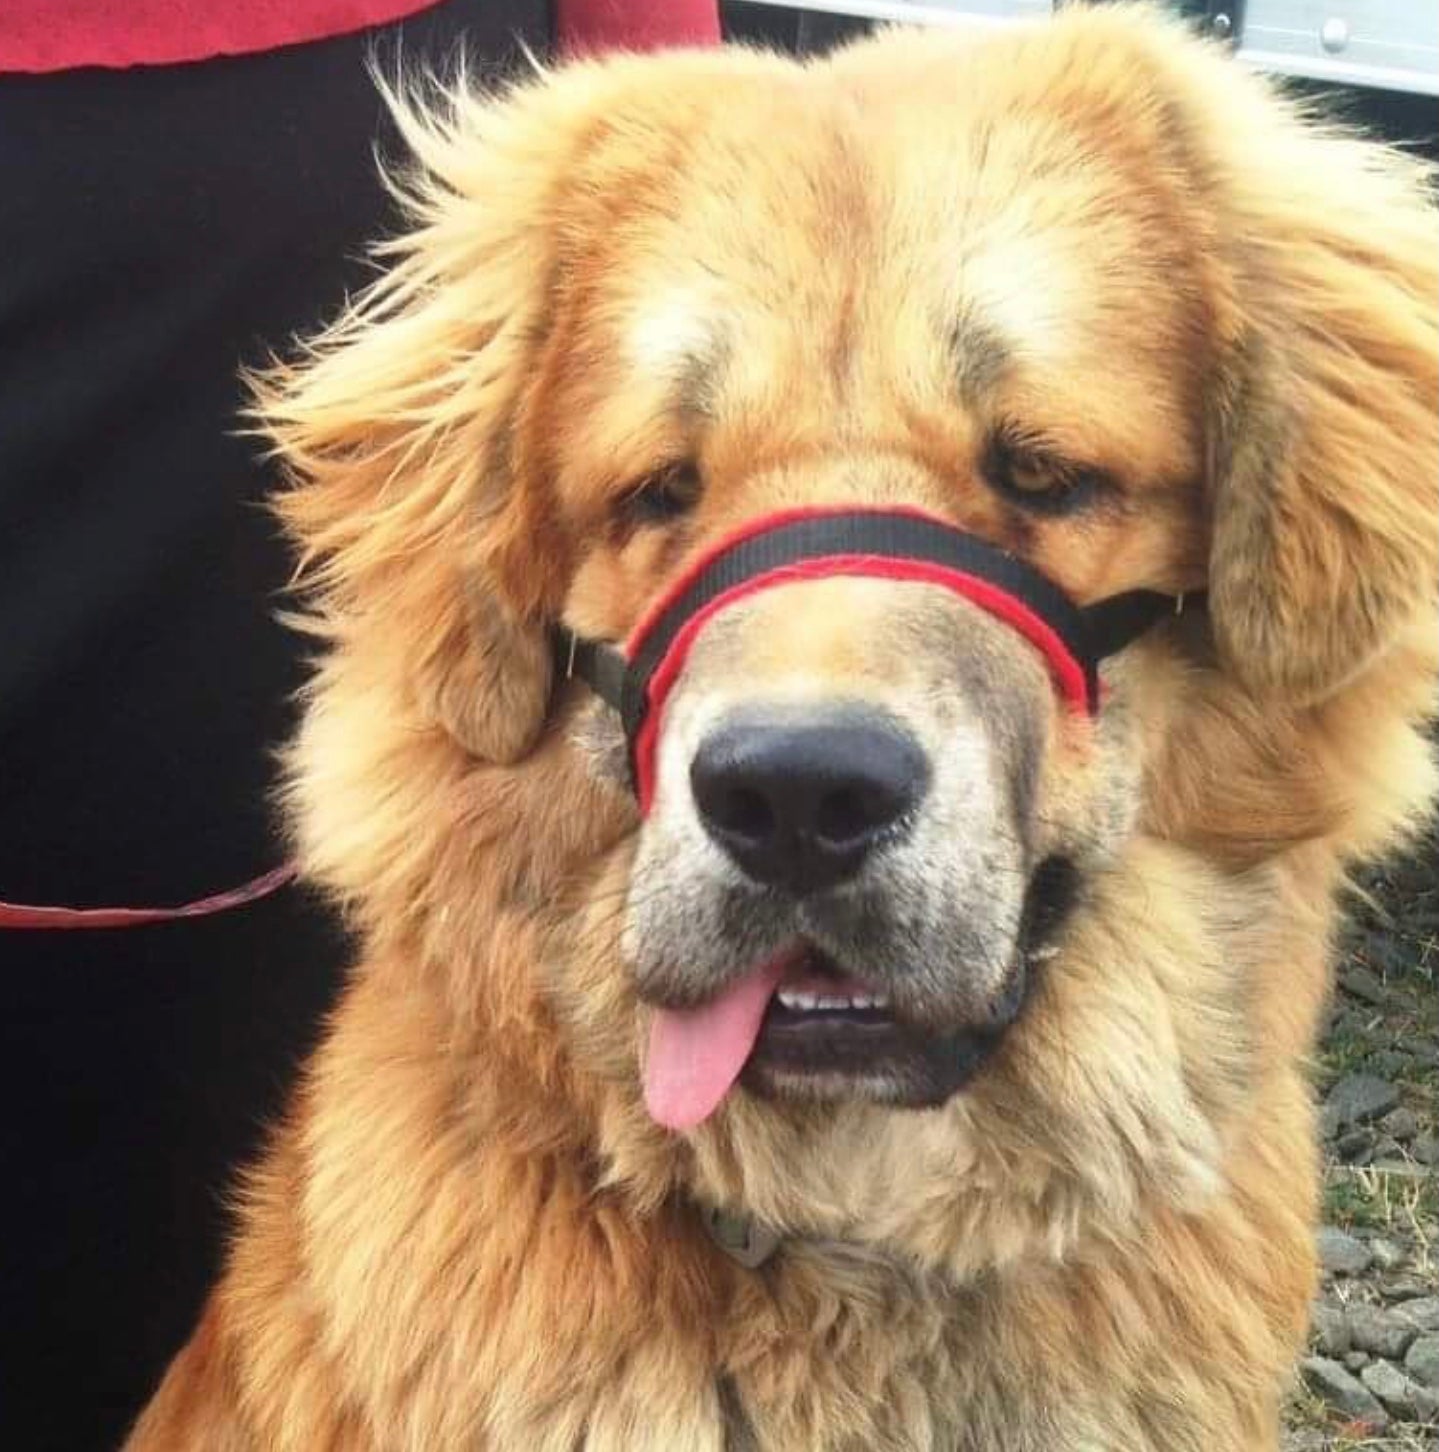
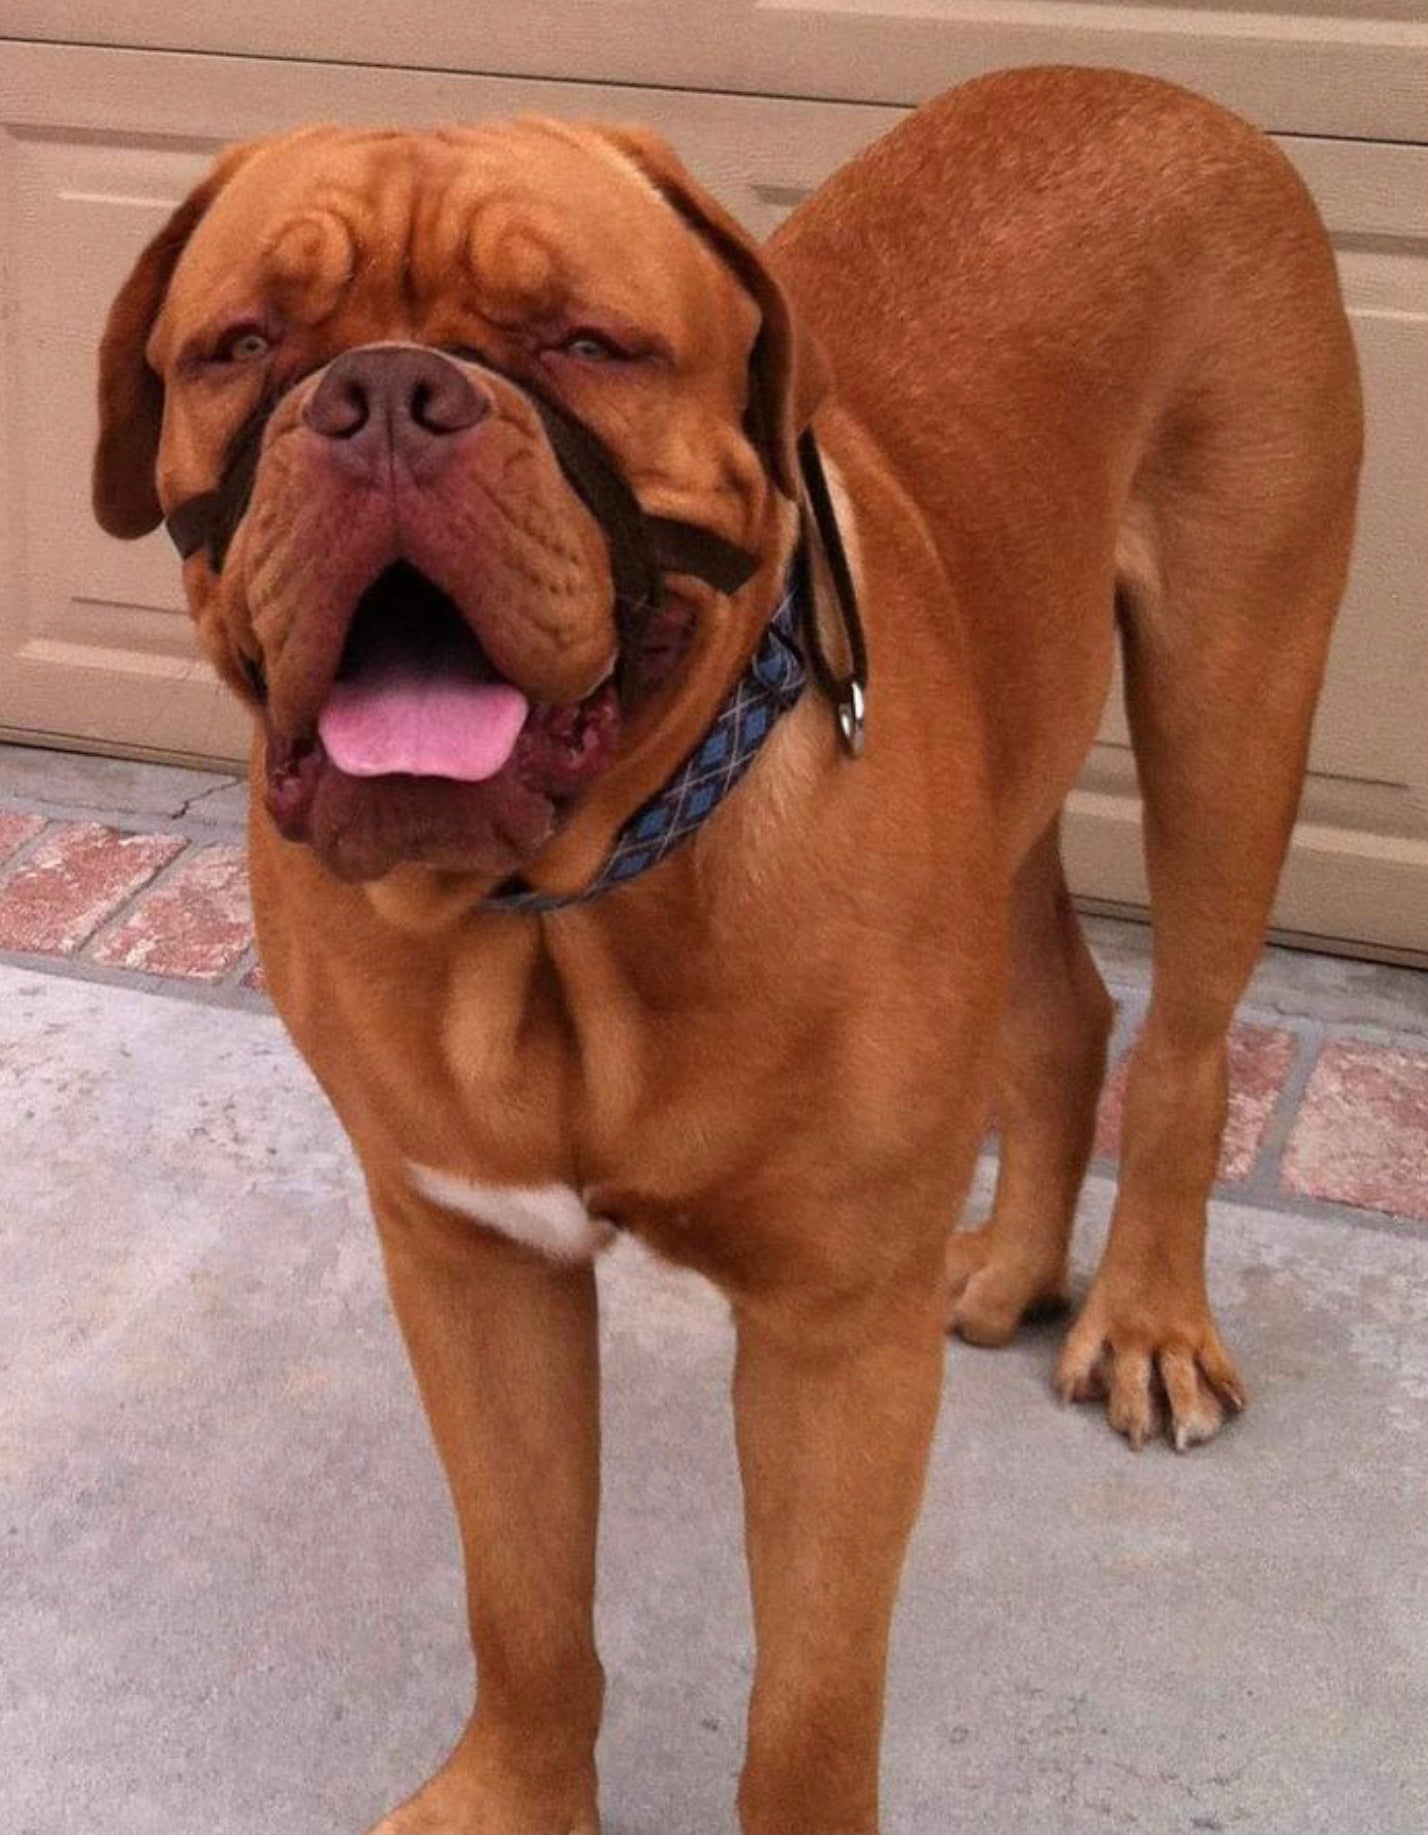
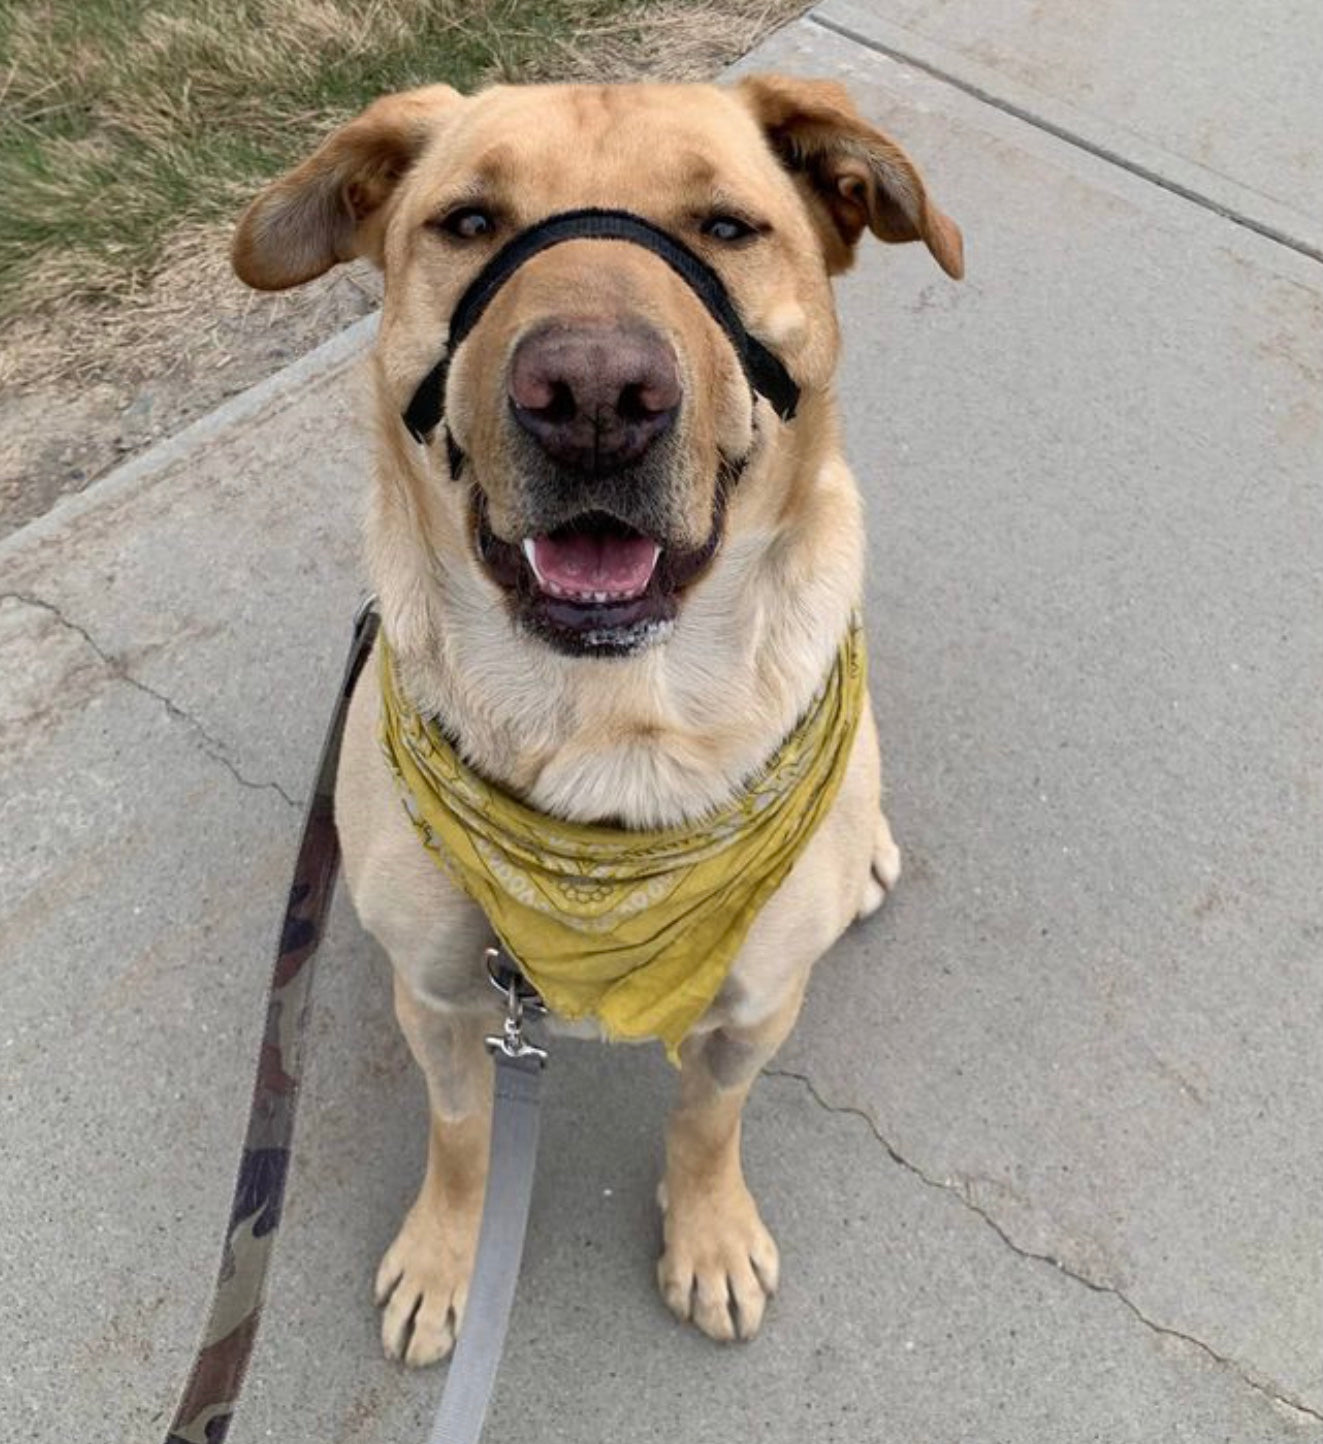
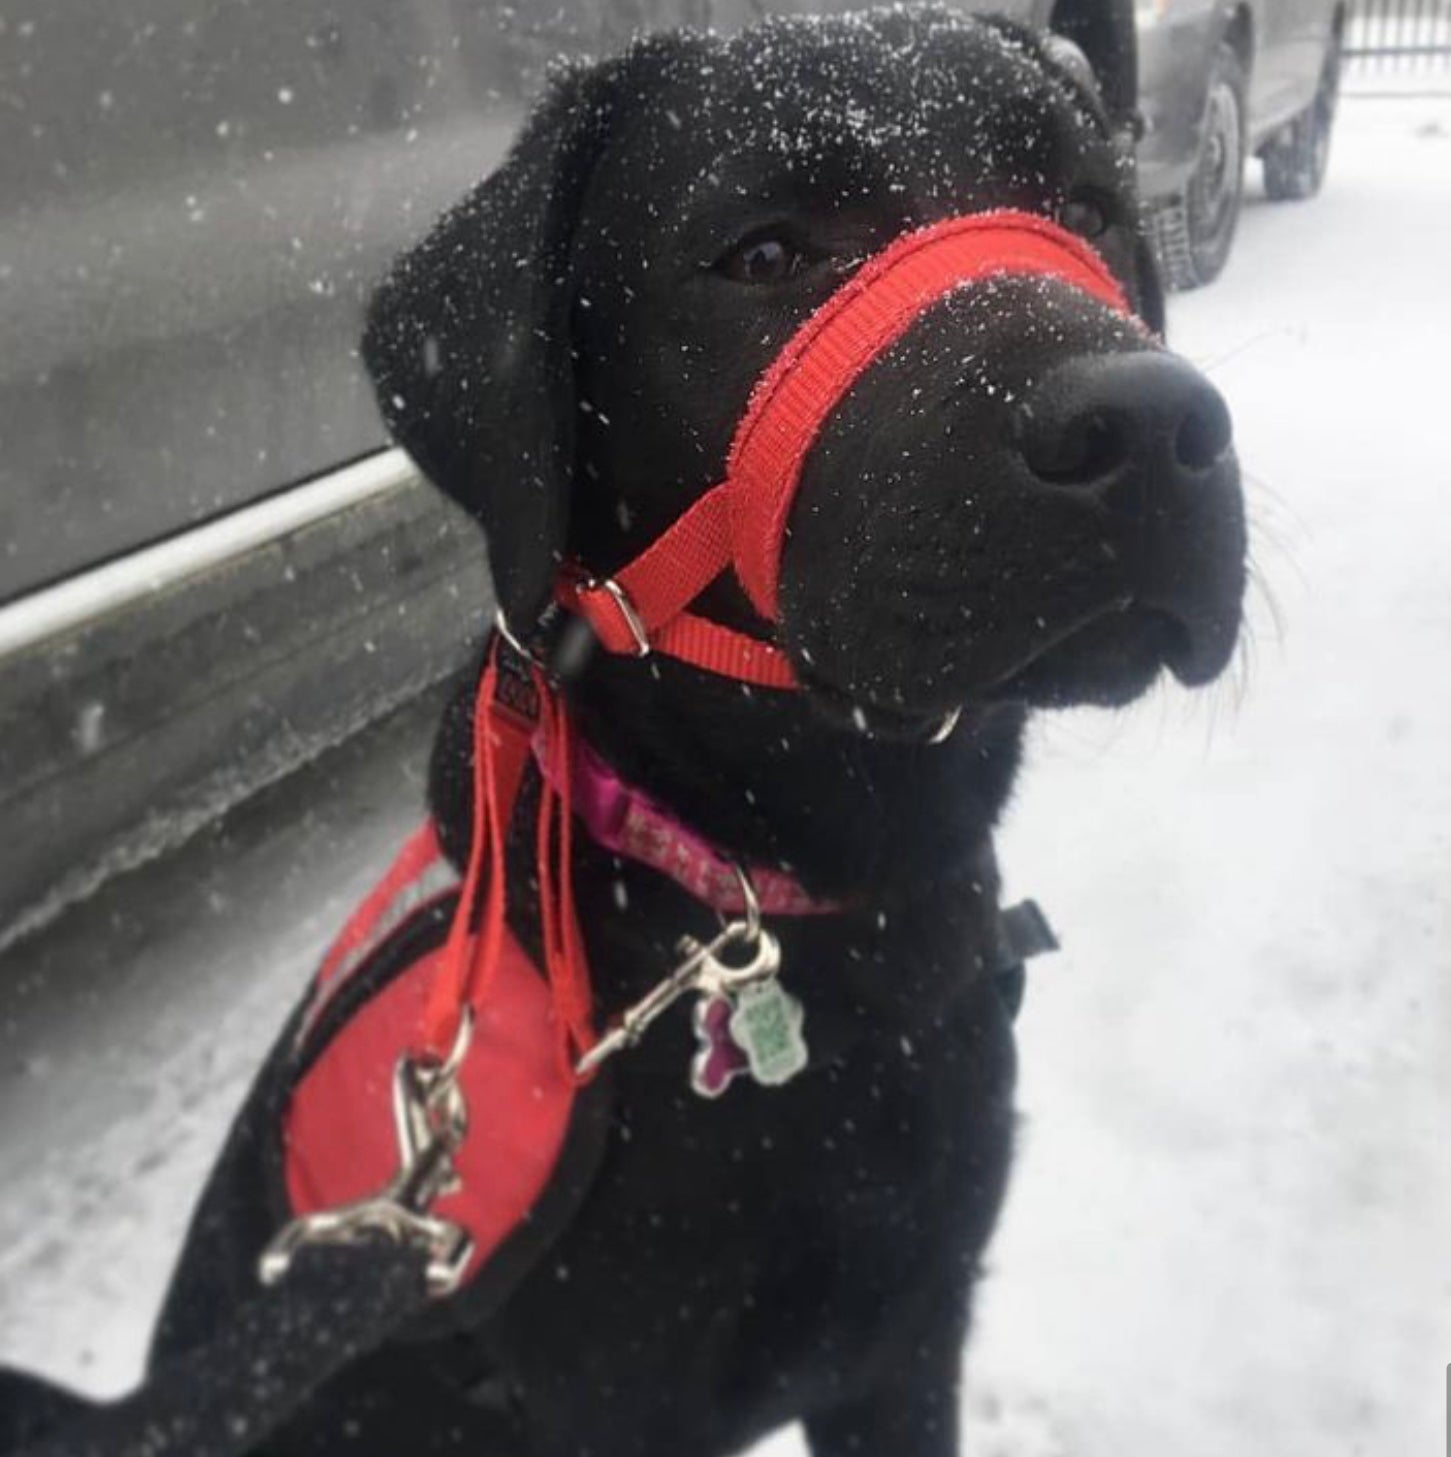
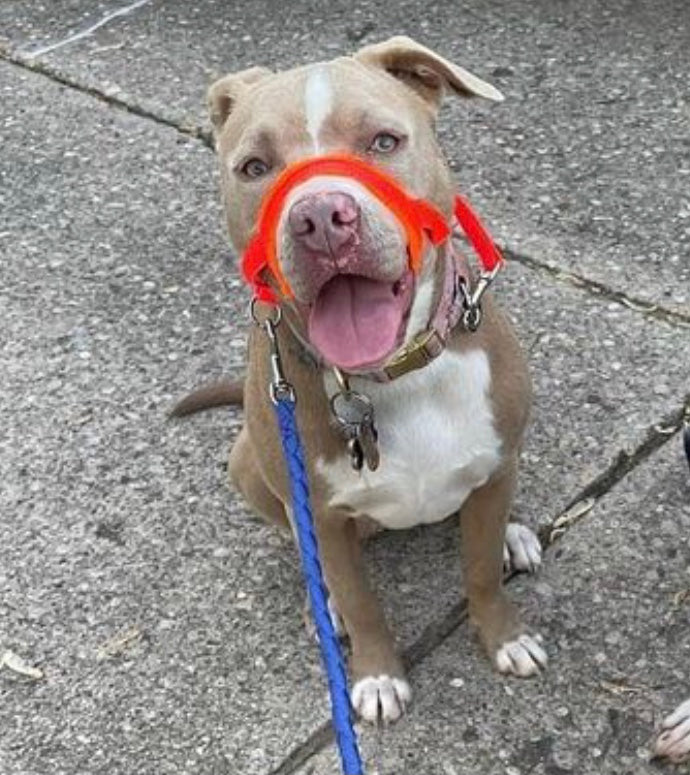
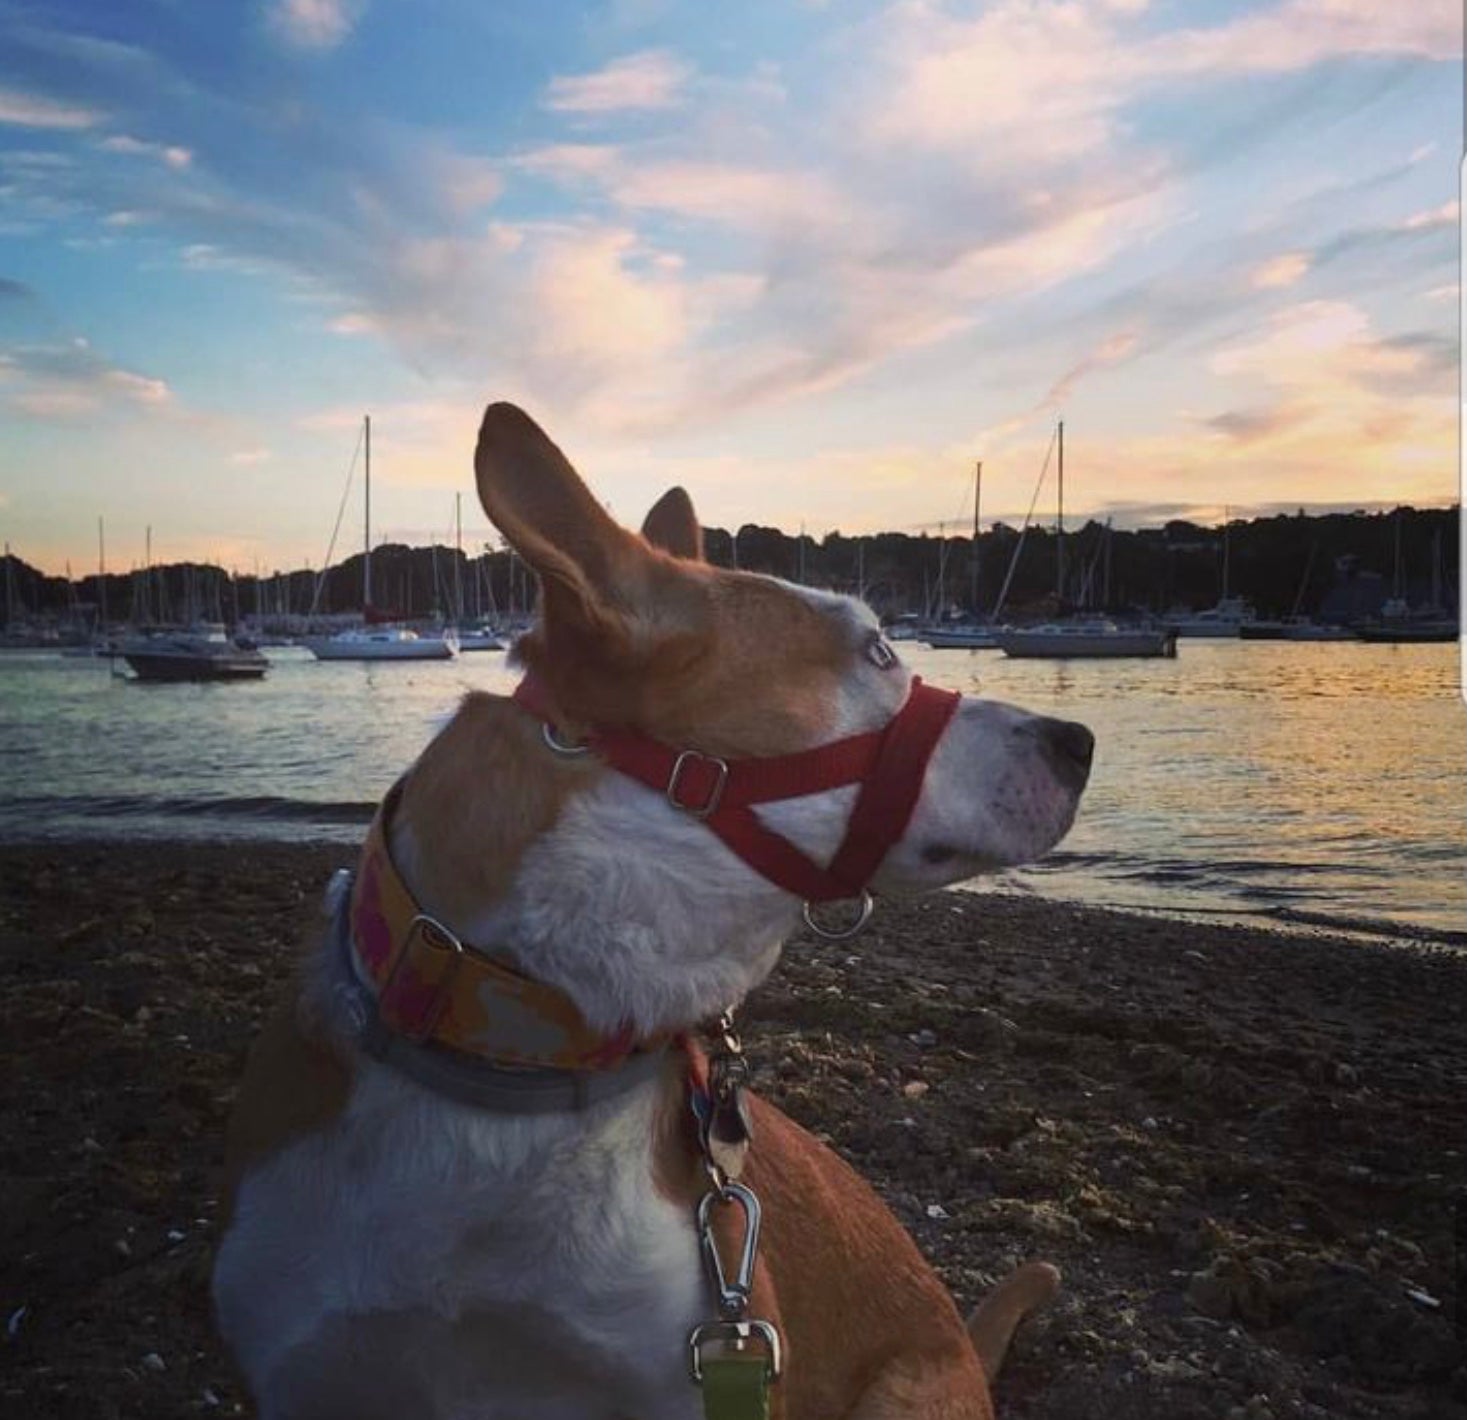
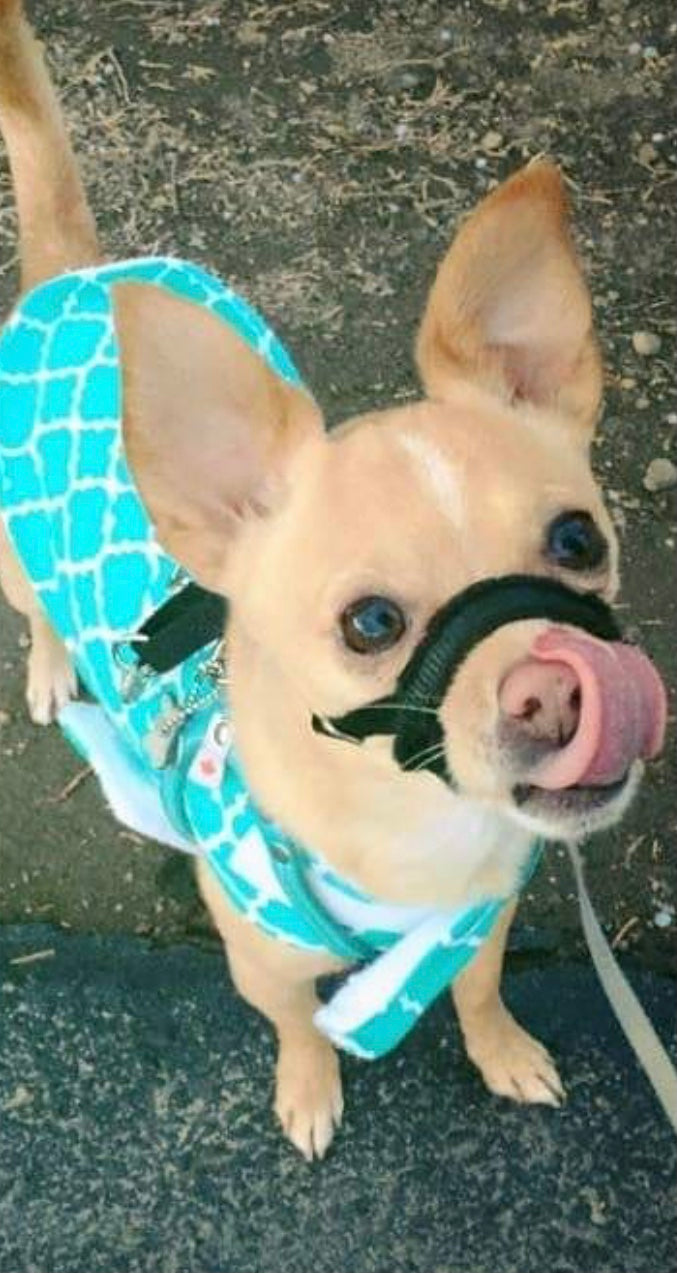
The NewTrix Dog Halter stops pulling!
Why does the NewTrix Dog Halter work?
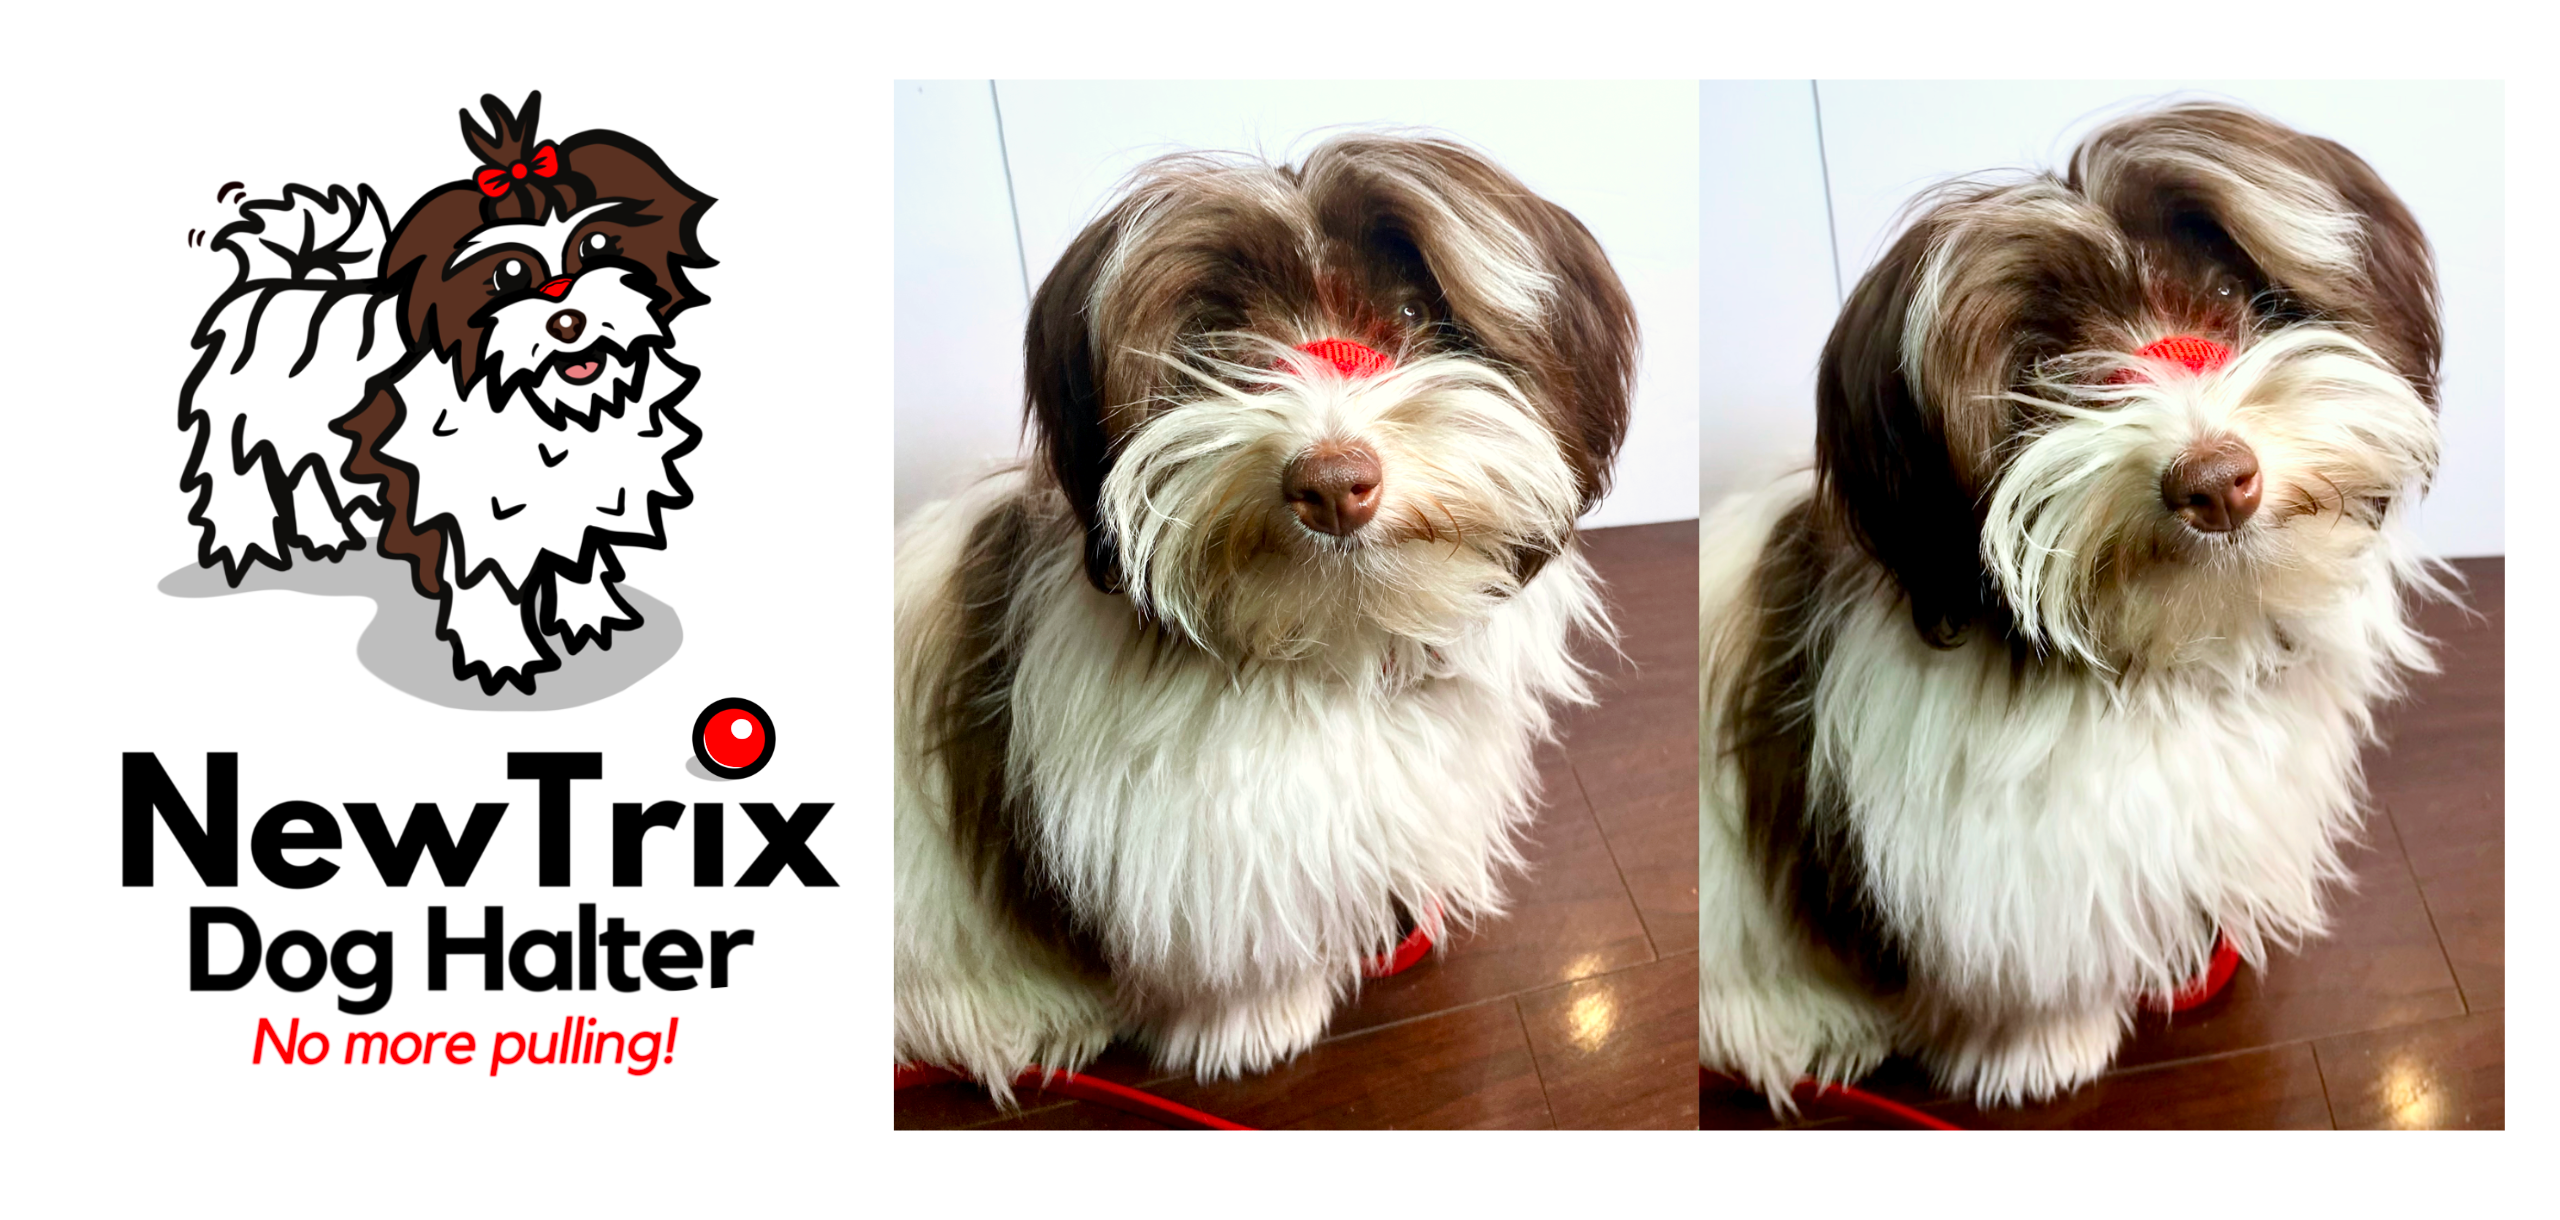
The NewTrix Dog Halter is built for comfort featuring it's soft, Fleece Nose Piece!
What size is your dog?
-
H8 GIGA NewTrix dog halter (64 - 90 kg or 140 - 200 lb dogs)
Size GIGA NewTrix dog halter is suitable for dogs weighing 64 -...
-
G7 MEGA NewTrix dog halter (50 - 64 kg or 110 - 140 lb dogs)
Size MEGA NewTrix dog halter is suitable for dogs weighing 50 -...
-
F6 LARGE NewTrix dog halter (34 - 50 kg or 75 - 110 lb dogs)
Size LARGE NewTrix dog halter is suitable for dogs weighing 34 -...
-
E5 MEDIUM NewTrix dog halter (20 - 34 kg or 45 - 75 lb dogs)
Size MEDIUM NewTrix dog halter is suitable for dogs weighing 20 -...
-
D4 SMALL NewTrix dog halter (11 - 20 kg or 25 - 45 lb dogs)
Size SMALL is suitable for dogs weighing 11 - 20 kg or...
-
C3 MINI NewTrix dog halter (7 - 11 kg or 15-25 lb dogs)
Size MINI NewTrix dog halter is suitable for dogs weighing 7 -...
-

B2 MICRO NewTrix dog halter (4.5 - 7 kg or 10 - 15 lb dogs)
Size MICRO is suitable for dogs weighing 4.5 - 7 kg or...
-
A1 NANO NewTrix dog halter (2 - 4.5 kg or 5 - 10 lb dogs)
Size NANO is suitable for dogs weighing 2-4.5 kg or 5-10 lbs....


